There’s something about canvas photo prints that’s made them an incredibly popular alternative to the paper printed and glass-framed photos we traditionally kept in our homes. Whether it’s the weave of the canvas itself, the glamour of a gallery wrap or some other intangible aspect you’ve fallen in love with, you’re certainly not alone in your love of canvas photo prints.
Learning the art of DIY canvas stretching enables you to participate in even more of the process of converting your favorite images to long lasting, personally meaningful works of art. It also gives you greater control over the quality of the materials used in your project. Here are 5 pro tips to help you create DIY canvas photo prints that last.
5. USE A REPUTABLE PRINTER FOR CANVAS PHOTO PRINT PROJECTS
Ask your prospective printers for examples of their work and references from previous clients. You can also often find recommendations and reviews of their work online.
If you’re planning on stretching a giclée print, it’s even more important to make sure your printer has extensive experience with this unique method in which fade resistant, archival quality inks are used. The finish is susceptible to damage from scratches and moisture, and you should never use a liquid to clean it. You can learn more about caring for your giclée prints here.
4. CHOOSE A FRAME & CANVAS TO SUIT YOUR DISPLAY LOCATION
Ideally, you’ll hang the piece out of direct sunlight to prevent fading, but temperature and humidity factors can still impact your frame. For best results, your stretcher frame should be finger jointed and kiln dried to a moisture content of 8% or less. This prevents warping and joints coming apart, both of which weaken the frame and can cause unsightly deformations.

Linen canvas photo prints can produce a sharper image, but are also more difficult to learn to stretch. Consider your level of comfort with the stretching process, and decide if you want to practice stretching cotton canvas before diving into a linen project (see our Cotton vs. Linen post for more). You also want to ensure that the size of your canvas suits the available hanging space, and that the photo you’re working with is of high enough resolution to print well at the size you’re planning.
3. CHOOSE A CANVAS FRAME BUILT TO LAST
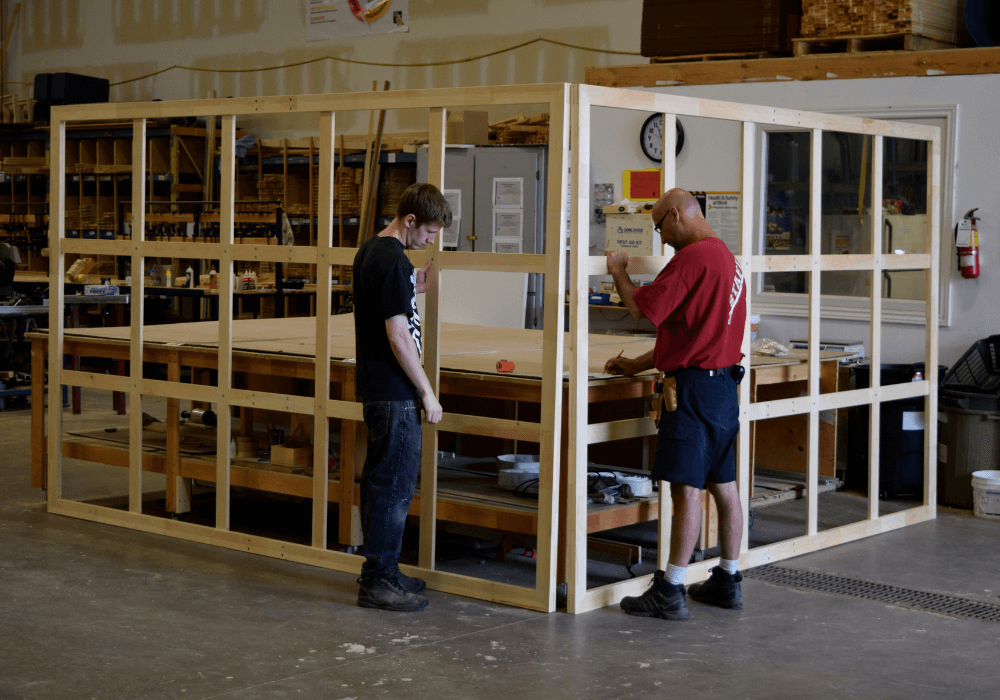
Whether you’re doing a standard or gallery wrap (bars available in custom sizes, or choose stock sizes for substantial savings), the integrity of the stretcher bars is critical to the longevity of your finished piece.

Use this guide to make sure you’ve considered all of the important factors in stretcher bar design, including which profile (width and thickness) you need, what is being stretched, the likely tension of your canvas, and more.
2. TAKE A DIY CANVAS STRETCHING TUTORIAL
Practice makes perfect, and we have a couple of resources to help you get off on the right foot! Watch a large canvas stretch and install start to finish in just a few minutes, in this time-lapsed video.
This tutorial on stretching paintings or prints on canvas takes you step-by-step through different scenarios you might encounter. And finally, this two-minute video shows you how to stretch your canvas drum-tight in just minutes:
1. MAINTAIN YOUR CANVAS PHOTOS BY KEYING THE FRAME AS NEEDED
A keyable stretcher can be adjusted slightly over time, to tighten your canvas against the frame. Canvas absorbs moisture as it ages, which can cause sagging and affect the quality of your piece over time.
Keys are precisely manufactured to fit in your stretchers tongue and groove joints, where slight adjustments called “keying” expand the frame just enough to pull your canvas tight again.
WANT TO LEARN MORE?
- Read 5 Reasons to Print Your Digital Photos on Canvas for inspiration
- Browse standard stretcher bar options for your project
- Contact an Upper Canada Stretchers representative for assistance or custom ordering
LOOKING TO ORDER ONLINE? WE HAVE CUSTOM SHAPED CANVASES!
SHOP OUR ONLINE STORE FOR ART SUPPLIES


